If you run auctions for collectibles, estate items, vintage goods, or anything that naturally belongs together, you’ll often want to group items into lots. A lot can refer either to a set of items sold as a single unit or to a group of separate auctions presented together on one page, allowing bidders to browse and bid in one place. WooCommerce doesn’t offer this functionality out of the box, but it’s straightforward to set up using WooCommerce Simple Auctions.
If you’re just getting started with auctions on your store, our complete guide to running auctions on your own website covers everything from installation onward.
This tutorial assumes you already have that foundation in place and focuses on one specific task: creating auction lots in an optimized, flexible, and easily customizable way.
Each item will be its own auction and we will use tags to group auctions into a lot for this purpose. Theme used is StoreFront along with some of our code snippets, we will explain all details later, of course you will need our Simple Auctions plugin. End result should look like image below:
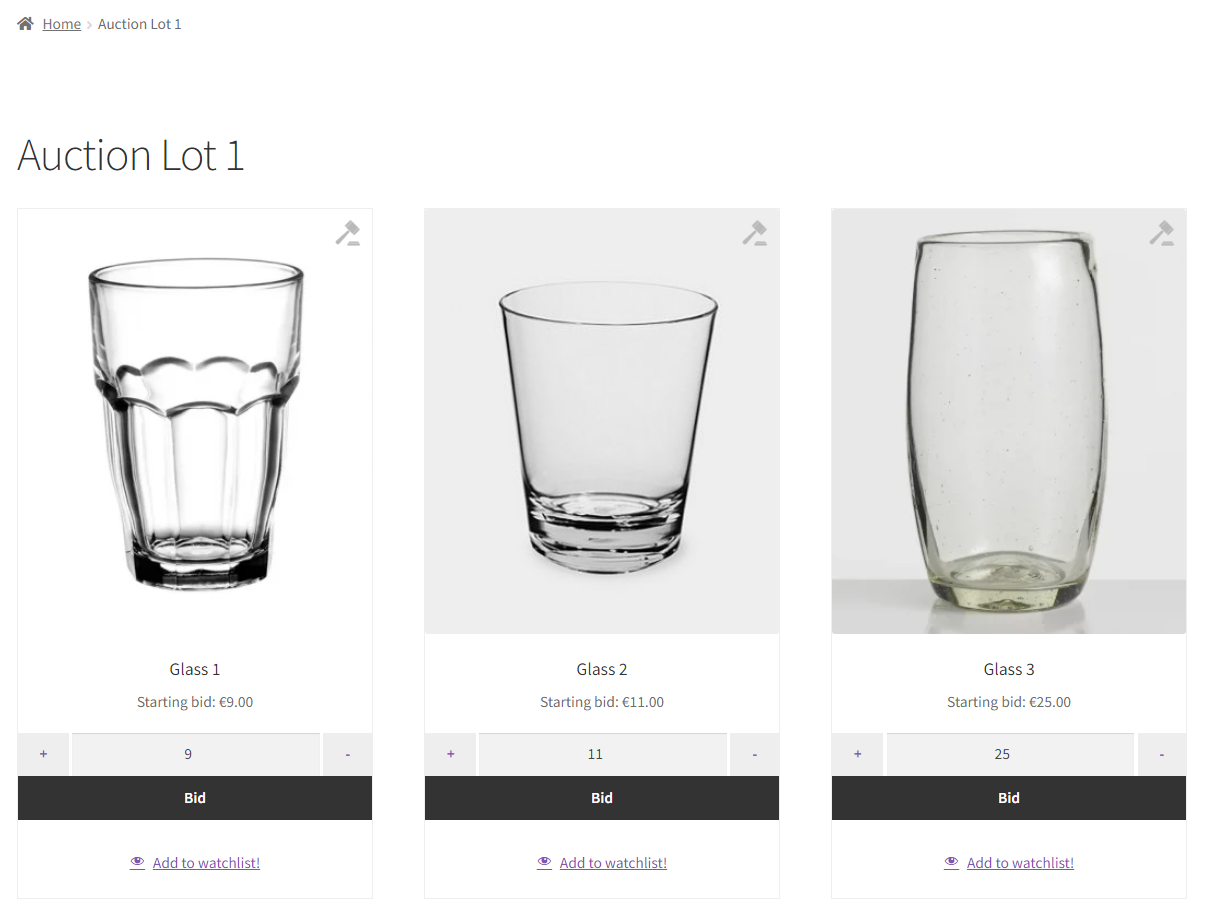
In order to create auction lots first thing to do is to create auctions and tag them with same tag, say tag name is “Lot1”.

Now that you have these ready, create new page like one below:
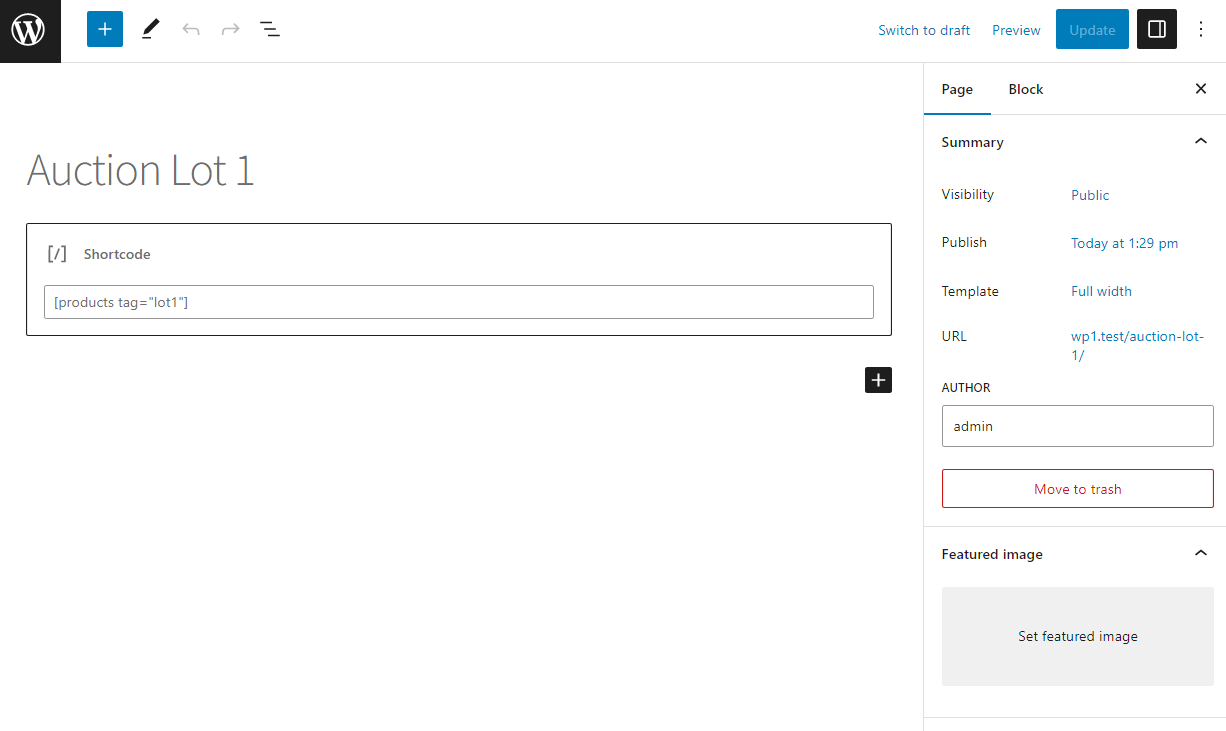
Details about [products] shortcode are here. Page is set to full width, you can also use Elementor to style this page and just place shortcode where you want content to be displayed. Now we want to have bid input on that page too, so users can place bids instantly on Lot1 page. We will add this code snippet into our StoreFront child theme functions.php file to enable that feature – with is_page(‘auction-lot-1’) conditional statement we will load this only on Auction Lot 1 page:
add_action( 'template_redirect', 'wpgenie_add_bid_button_template_redirect' );
function wpgenie_add_bid_button_template_redirect() {
if ( is_page('auction-lot-1') ) {
add_action( 'woocommerce_after_shop_loop_item_title', 'wpgenie_add_bid_button',50 );
}
}
function wpgenie_add_bid_button(){
global $product, $post;
if ( $product->get_type() !== 'auction' ){
return;
}
wc_get_template( 'single-product/auction-bid-form.php' );
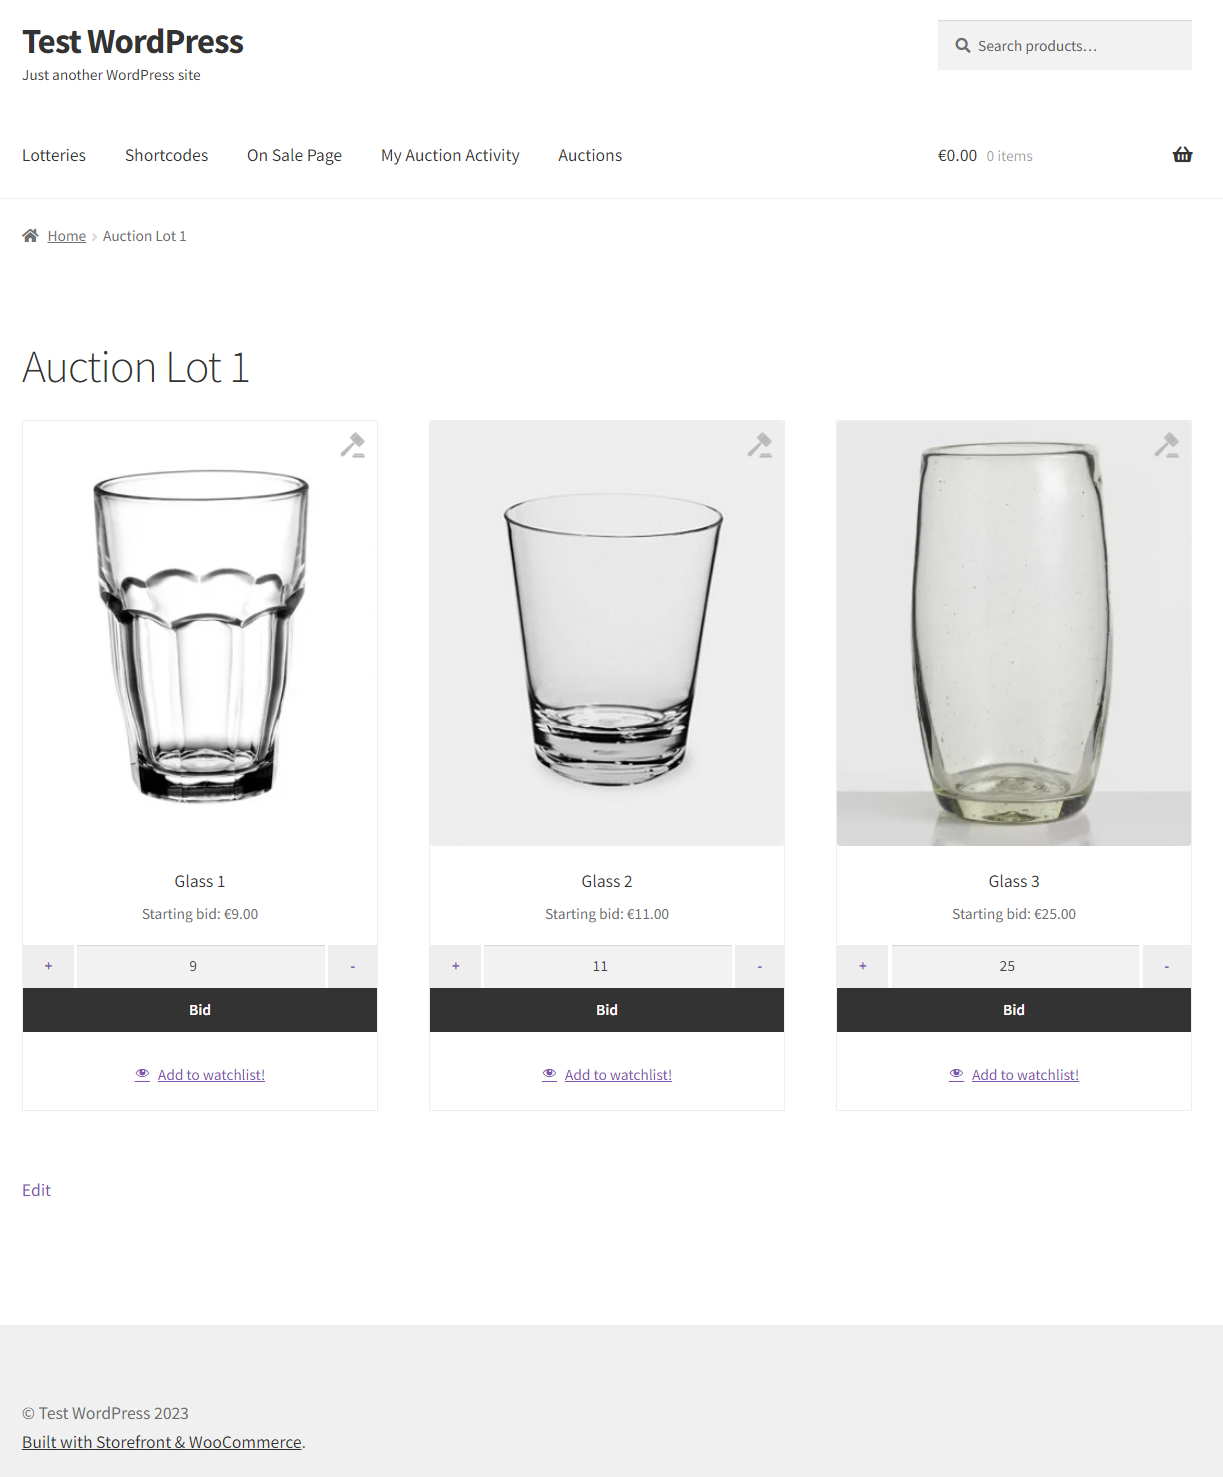
}Once this is completed, we can style it a bit using child theme style.css:
.page-id-2316 button.bid_button.button.alt {width: 100%}

.page-id-2316 .quantity .qty {width: 70%}

.page-id-2316 li.product.type-product.product-type-auction {
    border: 1px solid #eee;
}

a.button.wp-element-button.product_type_auction {
    display: none;
}
Please note that CSS selectors are made only for Auction Lot 1 page (hence page id 2316 selector .page-id-2316). Once everything is done you should get this:
If you want to have 1 auction for a lot of items then just create auction stating that auction is for example “Auction for lot of 3 drinking glasses” and in description you write “You are bidding for 3 drinking glasses”, something like this:

In our tutorial we have shown how to create auction lots – specifically a lot of 3 separate auctions for each glass while this is single auction for all 3 drinking glasses together, this example is very simple and is just matter of properly setting title and image for auction. In case you have problems setting up all of this you can contac us via ticket system.
Looking for other ways to improve your WooCommerce store? Check the complete list of our plugins that can help you bring your clients the best online shopping experience!